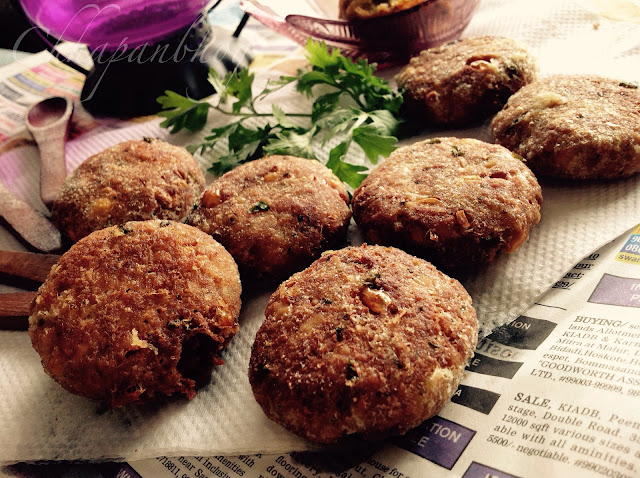
Corn and Chana Dal Vada
Who doesn’t like to have a super tempting,
piping hot snack with their evening cup of tea?? Just visualize a rainy
evening, you sitting in your balcony or by side of your window with a cup of
coffee /Tea and a plateful of yummy snack.. Wow!!! I am sure this wow would
have struck the cord of your heart as well.
Rains have knocked the doors in Bangalore and so is the mood of
preparing new snack every evening.. :D
There are range of Indian snacks that are
popular with almost every household, starting from Samosas to Kachoris, Dhoklas
to Khakras and the list is never ending. One such very popular snack from done
southern India is Chana Dal Vada. Giving this Chana Dal Vada a twist was my
fellow blogger and friend Farrukh’s Idea (her recipe link Click Here). I tried the recipe with certain
tweaks ( Not Voluntarily but as per the ingredients available at hand) and as
expected these superb snacky Vadas were absolute hit!! J
These Vadas are easy to make and a
crowd pleaser too. Your kids will love them, your guest would not stop himself
or herself at one and you will love making them, as it needs least effort.
So let’s begin with the ingredient list and then
the process on how to prepare them.
Ingredients
· 1 cup Chana Dal (washed, Soaked for 4-5 hours)
· ½ Cup sweet corn (I have used Frozen ones, thawed them)
· 1 small onion Roughly Chopped
· Handful of Fresh coriander leaves
· Salt as per taste
· ½ tbsp Ginger Garlic Paste
· ½ tbsp lemon juice
· 1 tsp paprika powder
· 1 tsp Cumin powder
· ½ tsp. carom Seeds/Ajwain
· ¼ tsp of Turmeric powder
· ½ tsp dried Oregano
· Oil for Frying
Process
1.) Drain the
excess water from Soaked Chan dal thoroughly
2.) In a
blender jar put the soaked chana dal and make coarse breadcrumb like
Powder/Mix.
3.) Thaw the
frozen sweet corn, and microwave them for 2 minutes.
4.) Drain the
excess water from corn as well.
5.) Now In
the same blender/Mixer jar in which we blended Chana dal, add Roughly chopped
onion, Coriander leaves, Sweet corn and blend it again. Make sure the paste is
not very smooth we need the mixture to be coarse.
6.) Now take
this mixture out in a big bowl.
7.) Add Salt,
paprika powder, Ginger Garlic Paste, Carom Seeds, Cumin powder, Oregano,
Turmeric Powder, Salt and Lemon juice and mix the ingredients nicely.
8.) The
mixture at this stage should have consistency of a dough to make vadas ready to
fry.
9.) If you feel
the mixture is too dry, you can sprinkle some water and adjust the dough.
10.) Let the Dough rest for
10-15 minutes.
11.) Once done, take small
portions and make small balls. Give them shape of vadas by pressing the balls a
little between the palms.
12.) Fry the vadas on medium
flame till golden brown.
Here they are, yummlicious Chana Dal Vadas are
ready…. Wait, what are you waiting for, go rush to your kitchen and try them … J J


Thanks
Happy Cooking and Stay blessed
Shikha